
Anderson, Indiana
Water Damage Repair and Mitigation in Anderson
Once the water is out, the real work is drying the building itself: subfloor, framing, and the inside of wall cavities. This page walks through that process from the first moisture reading to the final check.
Mitigation comes before repair
Water damage restoration in Anderson splits into two halves that often get confused with each other. Mitigation is everything done to stop the loss from getting worse: removing water, controlling humidity, pulling out materials that cannot be saved, and drying what can. Repair is putting the building back afterward, which means drywall, paint, trim, and flooring. Drying has to finish first, because rebuilding over wet framing traps the problem inside the wall.
That order matters most in a finished lower level, which is where a lot of Anderson losses land. Carpet, pad, baseboard, and the bottom edge of drywall all sit within reach of even shallow water, and each one holds moisture differently. Treating them as a single wet area produces either wasted demolition or a wall that stays damp behind fresh paint.
What the work involves
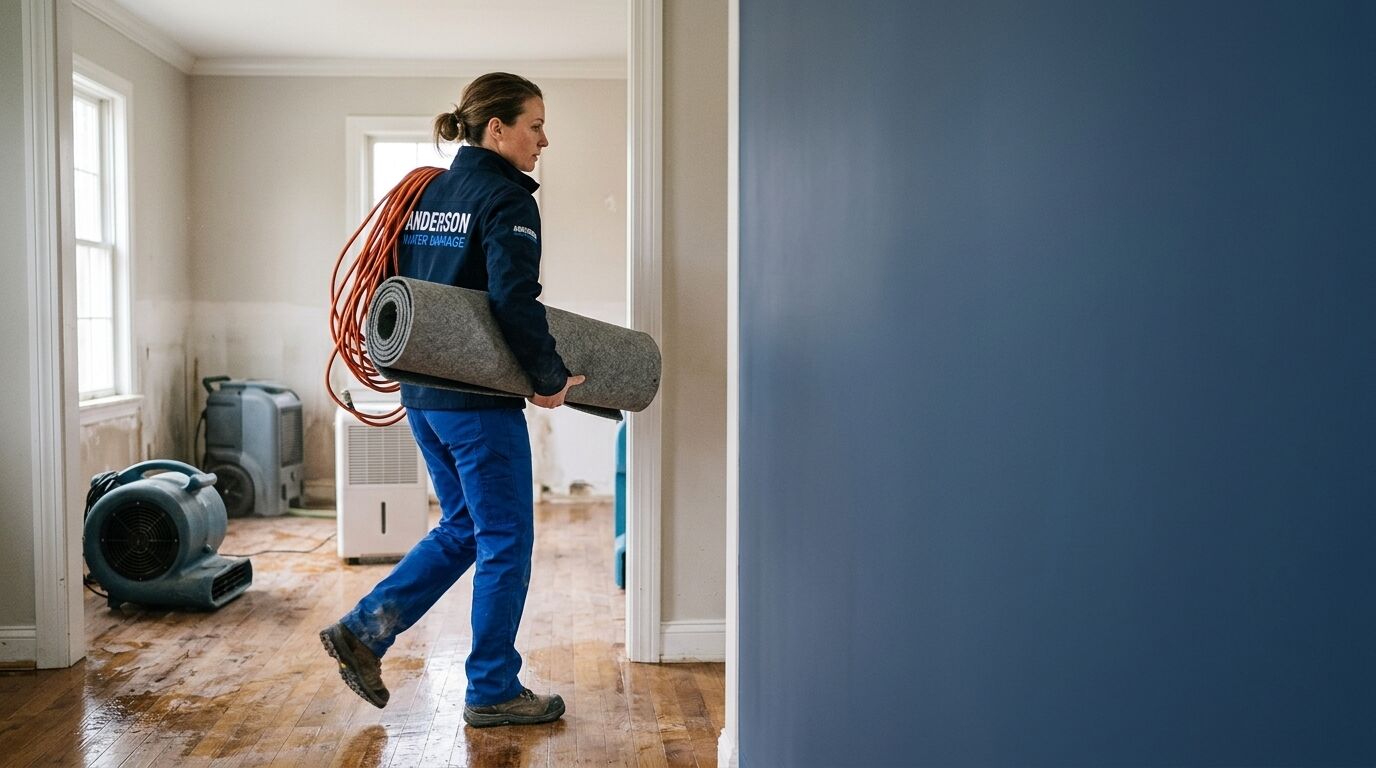
We start by establishing how far the water actually traveled, using meters on affected materials and comparing them against readings from a dry part of the same building. That comparison is what sets the drying goal. From there the plan is specific: which materials stay, which come out, where air movers go, and how much dehumidification the space needs for its size and contents.
What gets checked and recorded
- Moisture content in drywall, baseboard, subfloor, and framing at marked points.
- Temperature and relative humidity inside the drying area, tracked while equipment runs.
- The extent of any material removal, with the reason it could not be dried in place.
- Photographs of affected areas before work starts and as conditions change.
What this looks like in Anderson
Older housing stock across the city means plumbing runs that have been modified over decades and finished basements added long after the original build. Those additions often sit tight against foundation walls, so water moving through a wall cavity has nowhere obvious to escape and no easy path for air to reach it. Small commercial buildings downtown carry the same pattern with heavier flooring and more contents in the way.
Seasonal factors add to it. Freeze-and-thaw stretches stress supply lines, then spring rain saturates ground that has not had a chance to drain. Two different causes, one collection point: the lowest finished space in the building. If your situation started as standing water, getting standing water out fast is the step that comes before anything on this page.
What to do before help arrives
- Keep power off in any area where water has reached outlets, cords, or appliances, and do not stand in water to reach a switch.
- Move what you can lift to a dry floor, particularly items with cardboard bases that will wick water upward.
- Leave wet carpet, pad, and baseboard where they are. Pulling material early can spread contamination and makes it harder to see how far the water went.
Our approach
How a drying plan is built
Establish the dry standard
Readings from an unaffected area of the same building set the target. Without that baseline, "dry" is an opinion rather than a number.
Set the equipment
Air movers are placed to move air across wet surfaces rather than around the room, and dehumidification is sized to the space and its contents.
Recheck and adjust
Readings are taken again as drying progresses. Equipment moves when a section reaches target so effort follows the materials that are still wet.
Want to know what stage you are at?
Call 765-615-4599 to talk with someone about your Anderson home.
Questions about repair and mitigation
Do you handle the rebuild after drying?
Drying, cleaning, and controlled removal are the mitigation side, and that is where our work centers. Rebuilding means drywall, trim, flooring, and paint. When you call, ask what your situation is likely to need afterward so you can line up the right trade instead of finding out at the end.
How do you check for water inside walls?
Meters read moisture in the material itself, and probes reach behind baseboard where water usually collects first. Where it helps, thermal imaging shows temperature differences that point to wet areas, which we then confirm with a meter. Imaging alone suggests where to look; the meter is what decides.
Can a wet wall just dry on its own?
Sometimes, slowly, and often not completely. A cavity with no airflow holds moisture long enough for odor and microbial growth to start, particularly in a below-grade room that is already humid. Controlled drying shortens that window. If you are unsure, a reading answers it faster than waiting to see.